Once you’ve created your product listings, the next step is adding product photography. The photos you select will influence your first impression on customers as they hunt for their next fashionable find.
Before You Upload…
Here’s what you should know about uploading media to listings before you begin the process.
When shooting product photography, remember to include plenty of angles of the product. Customers want to examine the treasures you’re selling with a keen eye before they buy. Including several different photo perspectives ensures they know exactly what they’re paying for and it will generate trust in your brand for future purchases.
We highly recommend that all photos are cropped to a 1:1 (square) aspect ratio. Jedora is designed to work best with square images. To optimize how fantastic your photos look, always crop photos down to a square ratio, whether they are product imagery or featured on your store’s About Us page.
When organizing your media, know that a video cannot be in the first media slot. That spot is reserved for still product imagery, so the shopping page is presented in the cleanest fashion to your customers. Any video or gifs can be placed in any of the latter media slots. A maximum of 12 media slots are available per listing.
If you’re looking for tips and tricks on how to take the best product photography, check out our Best Practices for Product Photography. We’ll walk you through all you need to know about the ideal photos for Jedora, so you can hit the mark on the first try.
Now that we’ve covered the essentials, here is how you upload media to your listings.
How to Upload Media to a Listing
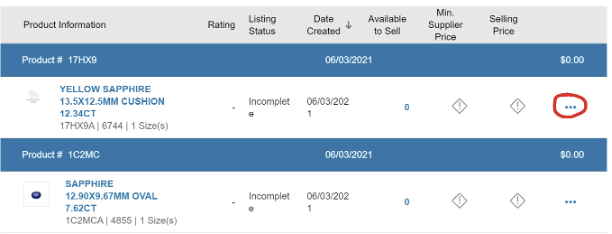
1) Select View Listings underneath the Product Listing dropdown.
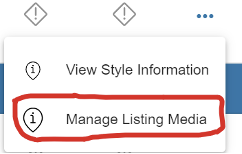
Choose the listing to which you’d like to add media, then click the 3 dots to the right of it. A dropdown menu will expand. Select Manage Listing Media to progress to the next step.
 |
 |
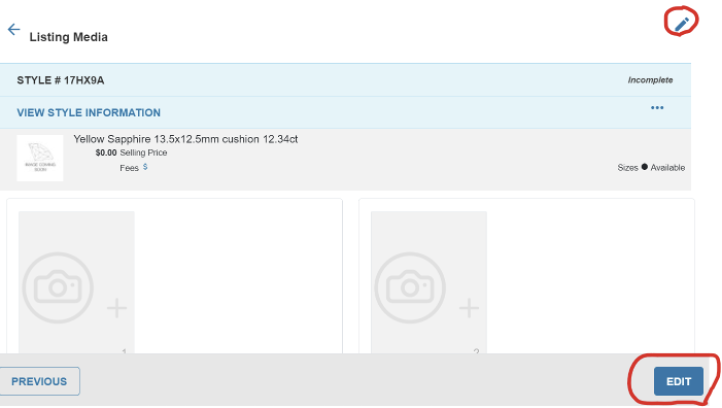
2) On the next screen, select the pencil icon in the top right to upload your media.
Another option is to select the edit button at the bottom right of the screen. Both links will make the page editable. By simply clicking the camera icon, you can now upload a variety of media to show off a variety of photos, videos, and gifs that represent your product well.
Wondering what image and video sizes we allow? This comprehensive article covers all the images you’ll need for your store on Jedora. Sizing your images and videos correctly ensures the best experience for your customers, giving your store a polished and professional look.
3) Always save your media by selecting Save in the bottom right corner after uploading.
Saving your work allows you to progress to the next step: rearranging your photos to appear in a certain order to your customers. See the directions below to successfully reorder images.
How to Rearrange the Order of the Product Images
The order in which you upload your photos may not be the order you’d like them to be in online. After saving the images you’d like to appear on Jedora, select the pencil icon or Edit once more, then click the three lines to the left of your media.
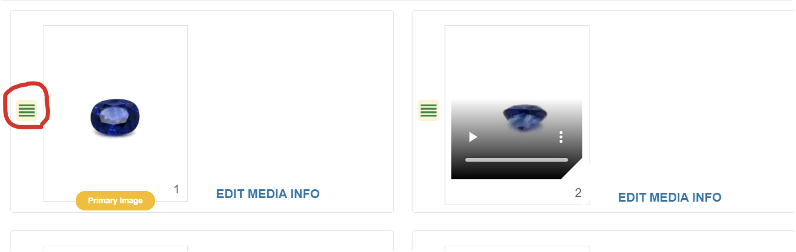
You will then be able to drag and drop the media into the correct order.
If you have any questions or would like to speak to a member of our team, please call 833-453-3672 or email PartnerSuccess@jedora.com.